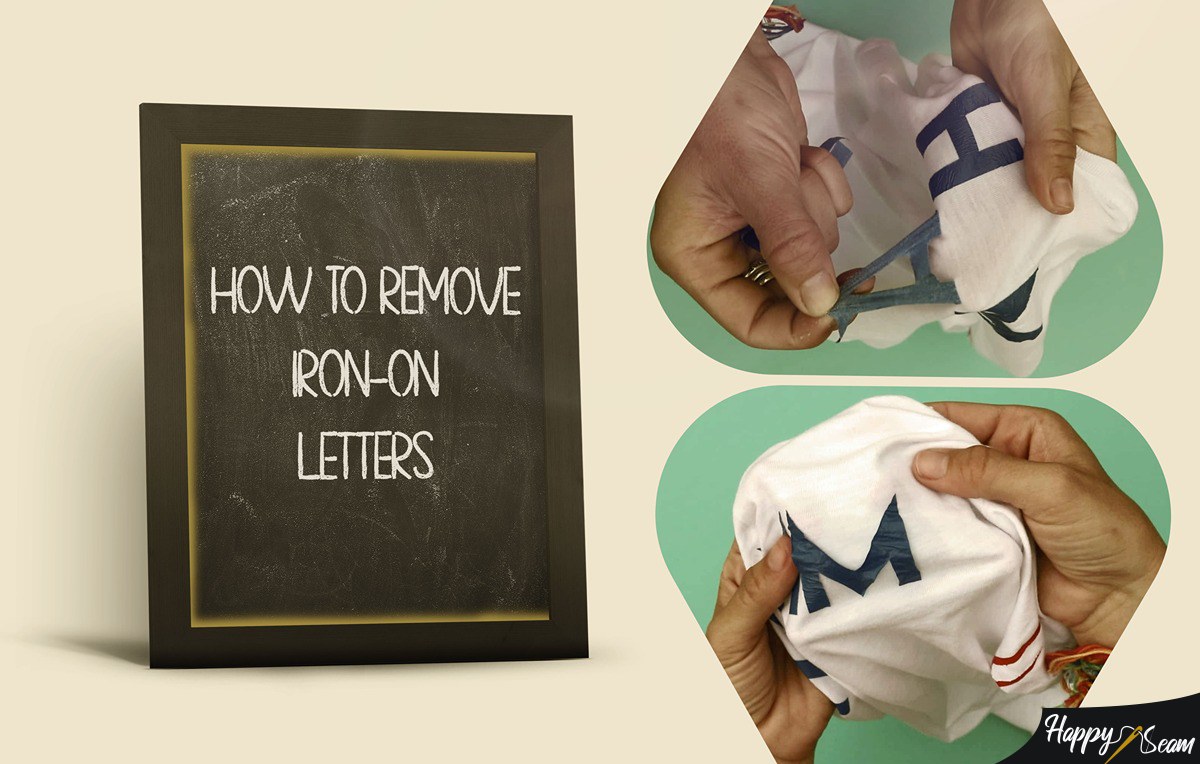
Iron-on, heat transfer glue, or heat transfer vinyl(HTV) is a material that can be placed and adheres to textile fabrics. As its name implies, it will transfer to a surface and stick to it with the help of heat. Applying iron-on letters is easy, and peeling them off can be easy too. Using heat or solvents like rubbing alcohol, acetone, commercial HTV remover, and petroleum jelly, along with others are some of the most effective methods for iron-on letter removal.
Key Takeaways
- Iron-on letters or Heat Vinyl Transfer (HTV) are used to decorate clothes
- HTV is a material that needs heat to adhere to the fabric of a garment
- You can use heat or chemical solvents to remove iron-on letters
- There are step-by-step actions you should follow for results
- Beware of the damage you can do to garments as you apply heat or chemical solvents
What are iron-on letters?

To understand different methods of removing iron-on letters or HTV, we got to look at what this material is and how it gets adhered to the fabric.
It is made of a substance called polyurethane and when you buy it, it comes in sheets or rolls of sheets and you can cut them and create different shapes. Some forms of iron-on come already cut in shapes and designs like letters and numbers. On the backside of the material is the adhesive, but it isn’t sticky until you apply heat and pressure to it. It activates the adhesive and enables the design to adhere to the fabric.
People use these materials to decorate clothes and mainly T-shirts. There is also vinyl made for use on other surfaces like wood.
Why would someone want to remove iron-on?
You made a mistake applying iron-on. When starting to work with iron-on letters there is always a chance to make mistakes, but luckily it is possible to fix them rather than start all over again.
You have old clothes to which the vinyl is coming off, cracked, and does not look good. Other than throwing them, there is the option of removing the damaged vinyl and making those clothes wearable again.
The third reason you may want to apply iron-on to your clothes may be to give a fresh new look to a garment and an exciting thing to do.
Removing iron-on (letters) using heat!

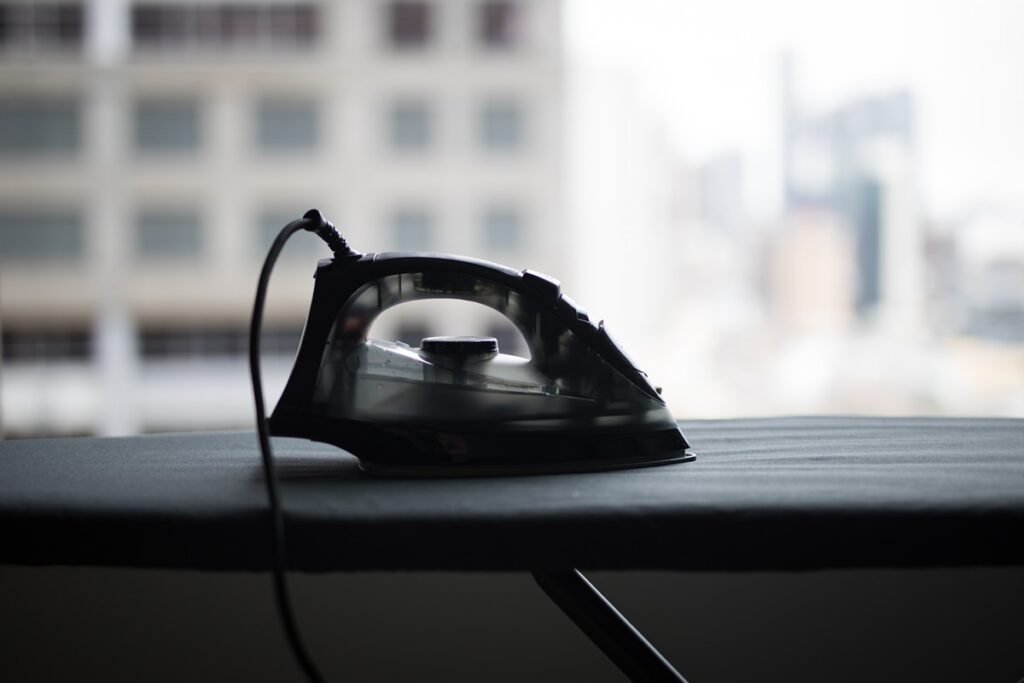
Using heat is one of the best ways to remove vinyl. There can be used heat and steam iron. Tools that come to hand here are iron or a hairdryer and besides these, you may need a towel, tweezers, scissors, and a knife.
Let’s get into the step-by-step process:
Set the heat
Make sure to use proper heat that the material you are applying it to can handle, because you can make it worse. You can hot iron settings on cotton and linen, while lower temperatures with polyester or nylon.
The last one is the most sensitive to heat so make sure to use the lowest temperature you can. Higher temperatures can also make it harder to peel the vinyl off by making it come off in little fragments.
Apply the heat to the garment
Start by placing the garment over the iron or if you can not stabilize your iron to stay with the soleplate toward you, can use it differently. You can do it by placing the garment on the ironing board with the vinyl facing outwards. In this case, you iron on the vinyl side but you must place wax paper(parchment paper) over the vinyl (you can also use nail polish remover). The clothing item should be placed in a way where the surface with the vinyl should not come in direct contact with the iron.
You can use steam to achieve higher temperatures too. Do it by grabbing a wet towel and placing it over the vinyl. After that, place the iron on top of both and the steam creates enough heat to melt the adhesive under the vinyl.
Using a hairdryer, you should put it in the hottest setting. Apply heat by holding it very close to the vinyl and moving it up and down and sideways to cover the entire iron-on design. If you are not getting results this way, try holding the heat in a smaller area at a time to get it hot enough to make it easier to be peeled away.
Start peeling it off!
Wait for the moment when the temperatures get high the adhesive starts to melt. You can know it is happening by noticing peeling and wrinkles on the vinyl. Slowly peel the vinyl off by the edges using tweezers, scissors, or a knife.
Sometimes you can notice iron-on adhesive left on the fabric. In these moments you can use steamers, alcohol, adhesive remover (like Goo Gone), or just wash those particular garments at higher temperatures.
Additional ways to remove iron-on
If you are scared of using heat or that method is not working, you can try removing iron-on using chemical solvents. You can buy commercial vinyl removers made especially for this purpose or you can use acetone, rubbing alcohol, or petroleum jelly. Make sure to have a properly ventilated space when using these, as they can release harmful fumes.
Here you should start by placing the garment in the dryer. The heat as explained earlier makes the adhesive melt and this makes the next steps more effective.
Next, you place the garment on a surface and turn it inside-out, so that the vinyl should be inside. Start applying solvent carefully, while at the same time looking out if it damages the fabric. Do it until you cover the entire area where the vinyl is.
Stretch the garment and pull it around the area of the vinyl, as this will help the solvent to penetrate the fabric and reach the adhesive, where it should have its effect.
On the side of the vinyl when the solvent starts having its effect you should be able to peel it off. Do it with a knife or tweezers and start from the edges. You should apply the solvent again if it does not work on the first try. Applying heat with a hair dryer can make it work faster.
After using this method, you should be careful to wash that garment by itself, by hand, or in the washing machine because solvents that are used to remove iron-on on this garment can damage other clothes.
Final Words
Removing iron-on from clothing items by applying these methods can be fun and exciting but applying heat and solvents can be scary if you are doing it for the first time. The adventure will work out perfectly and it will be a new skill gained if you follow the process step by step and make sure to take the precautions mentioned in the article.
Further Reading
If you have young kids who want to start tailoring, I have an amazing list of sewing machines for kids.
There’s also another blog that explains what the line dry means. Another one would be what dry flat means. There’s also a comparison between A-shirts and Tank tops.
Don’t miss out and enjoy.
I graduated from London College of Fashion, and I’ve been working for a Fashion Design company for 10 years. My other hobbies are going to the gym and reading.


