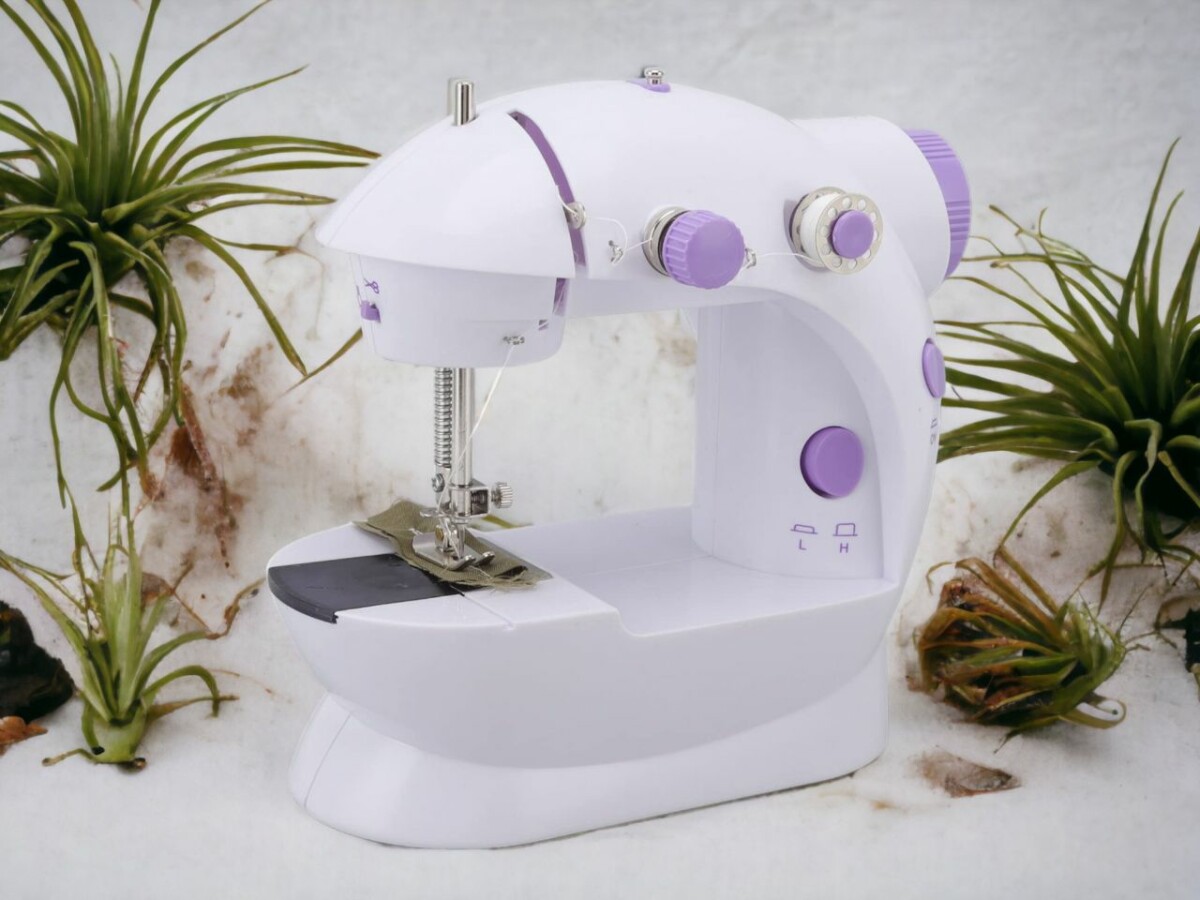
So, you’re all set to jump into the upholstery game, but there’s some doubt creeping in about whether your good old sewing machine can take the heat. No biggie, you’re not the only one.
In fact, there’s a whopping 65% of DIY sewers who share your apprehension. But hey, with the right know-how and some tweaks here and there, your machine can totally ace the upholstery test.
In this guide, we’re gonna walk you through choosing the right needle, tweaking your machine’s settings, and how to dodge those pesky common mistakes.
Let’s transform your sewing machine into an upholstery champion!
Can A Regular Sewing Machine Handle Upholstery?
A regular sewing machine can tackle light upholstery jobs. However, for thicker fabrics, you might require a heavy-duty machine. Make sure you use a heavy-duty needle and stronger thread and ensure your machine’s tension settings are just right.
Before you jump into the world of upholstery sewing with your regular sewing machine, there are a few ground rules you’ve got to get a grip on. First things first, you need to tweak your machine settings and pick up some hacks to deal with that tough and thick upholstery thread. Knowing your fabrics is a big deal too, as they’re not all created equal. Some are thicker than others and they’ll need different needle sizes.
Then there’s the whole issue with thread tension. Get this wrong and you’re looking at some pretty gnarly sewing errors like puckering and stitches playing hide and seek. You’ve also got to be real with yourself about what your machine can handle. It mightn’t be up to the big job of sewing upholstery. It’s all about getting to know your machine’s limits, picking out the right needle and thread, and switching up your techniques according to the fabric you’re working with.
It’s not going to be a walk in the park, there’s definitely a learning curve. But hey, be patient with yourself, and you’ll nail it eventually.
Choosing the Right Needle for Upholstery Sewing
Picking the perfect needle for upholstery sewing is a game changer in getting top-notch results. When you’re scoping out your needle options, you’ll see they’re designed with a specific purpose – to seamlessly pierce through tough fabrics without snapping. These needles are a whole different breed, thicker, longer, and way more robust than your run-of-the-mill needles.
But remember, it’s not one-size-fits-all, the needle size needs to match the fabric’s thickness. For lighter stuff, a size 16 needle does the trick, but for the heavy-duty material, you’re gonna need to step it up to a size 18 or 20.
Don’t forget to factor in your sewing machine. Not all machines are built to take on these heavy hitters. Make sure your machine is up to the task with a heavy-duty setting or if it’s specifically built for upholstery jobs. And here’s a hot tip – keep your needle game fresh. Blunt needles can mess up your stitch game and cause your thread to snap, so change them out often.
Adjusting the Tension for Thicker Thread
Alright, so you’ve nailed the first step and chosen the perfect needle for the job. Now, it’s time to get down to the nitty-gritty and tweak the tension on your sewing machine to get along well with the thicker upholstery thread. And hey, remember, you’re gonna need a bit of patience and perseverance here. You’re gaining new skills, and dealing with thread hiccups is just part of the learning curve.
- Your first move here is to dial down the tension on your sewing machine – lower numbers mean less tension. We don’t want that thread pulling a tightrope act.
- Next, grab a spare piece of your upholstery fabric and give it a test run. Keep an eye out for any fabric puckering or loose stitches – these are dead giveaways that you need to tweak the tension a bit more.
- If your stitches are chilling out too loosely, it’s time to up the tension a notch. But if your fabric’s looking like it’s been at the gym, with all those puckers, you need to cool down the tension.
- Keep this little dance going – adjusting and testing, until you hit that sweet spot where your stitches are on point and your fabric’s laying flat and pretty.
Take it slow, no hurry. Adjusting the tension for upholstery thread is a game of patience. But trust me, once you get the hang of it, it’s smooth sailing.
Techniques for Sewing With Upholstery Thread
Believe it or not, your regular sewing machine can totally handle the heavy-duty nature of upholstery thread, provided you get a few tricks down pat.
First things first, you’ll need to tweak your machine settings a bit. Given how much thicker upholstery thread is, you’d need to switch to a larger needle and increase your stitch length. It’s all about finding the sweet spot with the tension – you’ve got to loosen up the upper while cranking up the lower. This ensures you don’t end up with any nasty breakages or bunching.
And remember, slow and steady wins the race. Don’t let impatience get the best of you – sewing at a leisurely pace keeps your thread in check and keeps those pesky tangles at bay.
Ever thought of using a walking foot? Despite its popularity among quilters, it’s actually a godsend when dealing with chunkier fabrics. It ensures they feed through your machine evenly.
Once you master these tips, you’ll be sewing upholstery like a pro, right on your regular machine. It’s all about knowing your materials and adapting your game accordingly.
Tips for Preventing Thread Breakage and Tangle
Getting the hang of thread tension and keeping a chill pace are super important to dodge thread snaps and tangles when you’re stitching upholstery with a standard machine. Here are a four hot tips to say bye-bye to thread bunching and make your sewing game strong:
- Pick the right needle: Go big or go home, right? A larger needle can handle the bulkier upholstery thread and say no to breakage.
- Mess around with thread tension: This one’s tricky. Try loosening the top thread tension and amping up the lower one, but honestly, you might need to play around with it to find the sweet spot.
- Go for a longer stitch length: This is the real deal. It keeps the thread from snapping or bunching up.
- Slow and steady wins the race: Don’t rush it. Sewing at warp speed can lead to thread snaps and tangles.
And remember, it’s all about that practice, practice, practice. The more you sew, the better you get at handling these common pains. So keep at it!
Understanding Your Sewing Machine’s Potential: Beyond Upholstery
Ah, the art of sewing – unique, intricate, and yes, a tad complex. Nothing beats the satisfaction of carefully piecing together fabric and watching it transform into a masterpiece. But what if I told you that your trusty sewing machine can do more than just upholstery? Yeah, you heard me right! The possibilities are endless.
Did you know that you can actually use a serger as a regular sewing machine? True story! Sergers, also known as overlock machines, are not only excellent for creating sturdy seams but can also function as your regular sewing machine for regular stitches. Wild, right?
Alright, next crazy fact, you can even use a sewing machine without a bobbin. I wouldn’t necessarily recommend it if you’re going for neat, uniform stitches but hey, it’s possible, and it’s an option if you’re ever in a tight spot without spare bobbins at hand. Isn’t that a fun possibility to have in your arsenal?
Last, but certainly not least, it even gets wilder. Brace yourself – you can use a sewing machine without a presser foot. Yes, you read that correctly. It’s not for the faint-hearted and definitely requires a steady hand but, in a pinch, it’s doable. This goes to show that even under less-than-ideal conditions, there’s always a workaround. Adapting is the name of the game!
Just remember, the key to mastering any craft, including sewing, is knowing the ins and outs of your tools. It’s all about expanding your horizons and exploring all those surprising elements and untapped potential. So keep experimenting and keep sewing. You got this!
I graduated from London College of Fashion, and I’ve been working for a Fashion Design company for 10 years. My other hobbies are going to the gym and reading.

