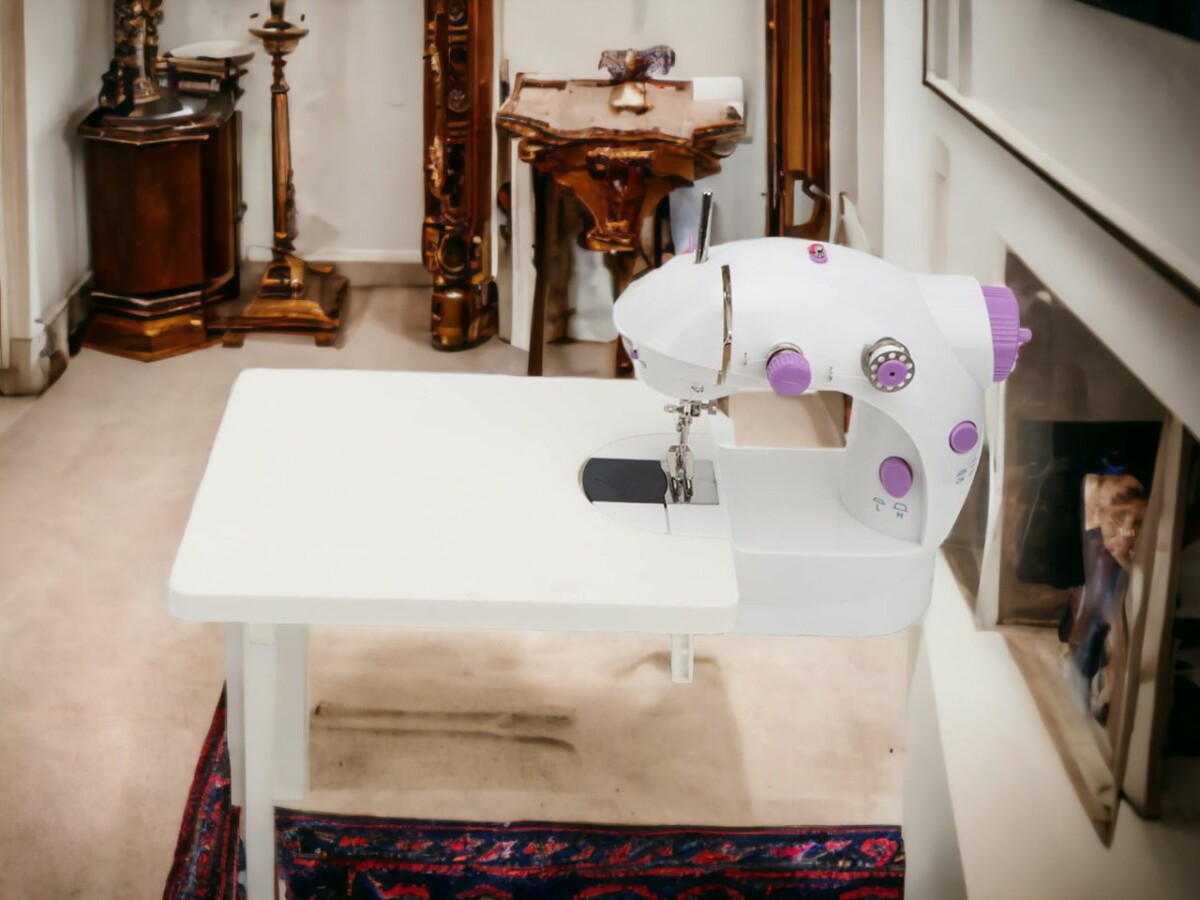
So, you’re about to dive into the world of DIY with an interesting task at hand – sewing Velcro onto your mag pouches. Sounds like a bit of a mission, right? Thick fabrics, stubborn needles – it’s not exactly a walk in the park. But hey, don’t let that put you off.
With the right gear and some handy techniques, you can totally nail this. This guide’s going to give you the lowdown on picking the right needle, thread, and type of Velcro to turn your sewing machine into your best friend.
So, get comfy and fire up that machine, it’s time to become a pro at sewing Velcro.
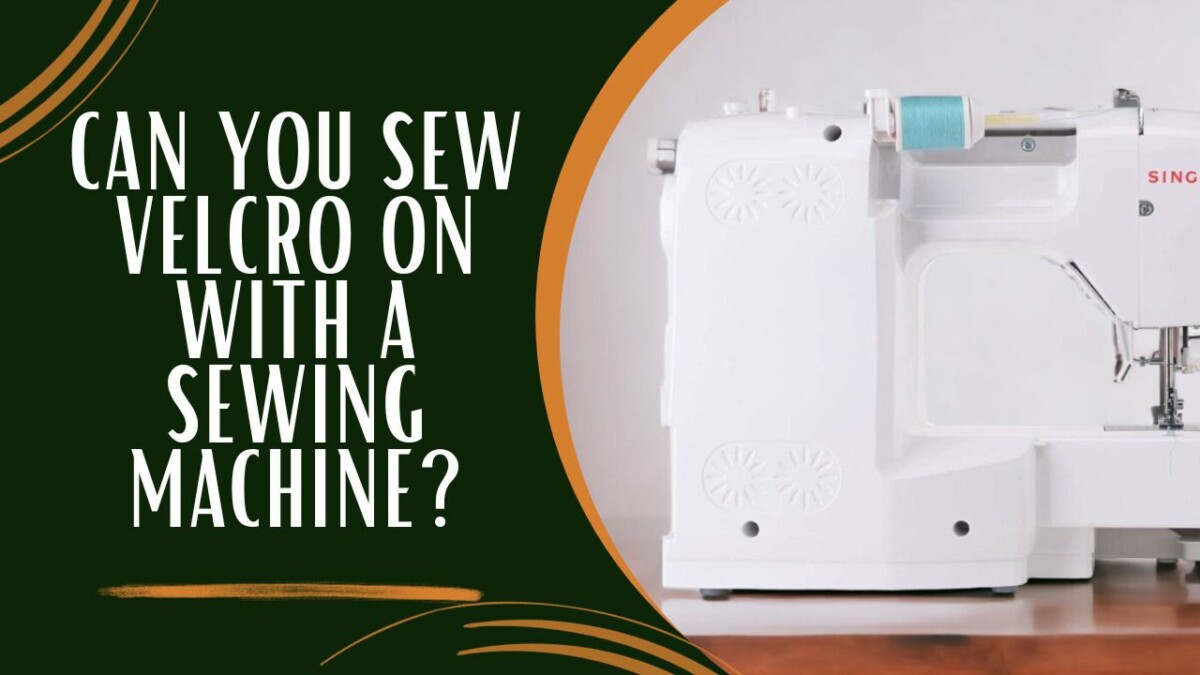
Can You Sew Velcro on with a Sewing Machine?
Yes, Velcro can be sewn with a sewing machine. Use a universal or heavy-duty needle and adjust the stitch length to prevent bunching.
Well, the first thing to keep in mind is to be aware of what your sewing machine can and can’t do. It’s like trying to park a truck in a compact car space, maneuvering a chest rig under the arm of that machine. Plus, the thickness of the fabric can make stitching as tough as a well-done steak.
Honestly, you might find it easier to just hand sew the Velcro or even test out different ways to attach it. How about using fabric glue or sewing an elastic band onto the pouches first, then sticking the Velcro to that? Just throwing ideas out there.
But no matter what method you end up choosing, don’t forget to use a rugged thread and a thick needle—90/14 or 100—so it can handle the job without breaking a sweat. And stay away from sticky-back Velcro like it’s a bad date; it’ll mess up your needle big time.
With a little patience and a few practice runs, you’ll get the hang of it and have your mag pouches good to go. But remember, Rome wasn’t built in a day, and neither will your perfect mag pouch. Keep at it and you’ll get there.
The Pros and Cons of Machine Sewing Vs. Hand Sewing Velcro
Before we dive right into the nitty-gritty of sewing Velcro, let’s take a step back and weigh the pros and cons of stitching it up with a machine versus doing it old school with your hands. There’s no right or wrong answer here – it’s all about what works for you.
Machine sewing Velcro has its perks, not gonna lie. It’s like fast food, but for sewing – quick, uniform, and way less tiring. But don’t write off hand sewing just yet. It’s like being a surgeon, giving you the precision and flexibility to tackle those complex shapes and tricky spots that a machine just can’t handle.
Then there’s fabric glue. It’s the microwave meal of the sewing world – super quick and easy, but let’s be real, it’s not exactly built to last. The glue can weaken over time, especially if it’s exposed to heat or gets a lot of wear and tear.
At the end of the day, each method has its own set of pros and cons. It’s like choosing between Netflix and the gym – it all comes down to what you need at that particular moment. So, take your pick based on your specific needs and what you feel comfortable with.
Creative Solutions: Elastic Bands and Velcro
Looking to add a bit of flexibility to your sewing project with Velcro? Here’s a fresh idea: toss in some elastic bands. They’re not just for ponytails, folks. These stretchy little guys can seriously up your sewing game by adding some much-needed versatility.
Here’s the lowdown:
First off, try using an elastic band to form a loop. You’ll attach one end to the fabric and the other to your Velcro. This nifty trick makes it a snap to remove or adjust your creation.
Want a tighter grip? Well, here’s a pro-tip: sew the Velcro straight onto the elastic band. This gives it a bit of give, making it a cinch to deal with any unexpected size changes.
If your sewing machine is throwing a fit and refusing to cooperate, don’t sweat it. Just switch to hand-stitching. And don’t forget to pop on a thimble. No one likes a puncture wound.
Working with a thicker fabric? You might want to opt for a bigger needle and some heavy-duty thread. This will help you avoid those annoying skipped stitches that can really throw a wrench in your sewing project.
Keep these tips in your back pocket and attaching Velcro will be as easy as pie.
Selecting the Right Needle Size for Sewing Velcro
When sewing Velcro, the needle size can either make or break your project. It’s not just about pushing the needle through the fabric, but also about the strength of your stitches and how well the Velcro sticks. Yeah, working with thick materials and Velcro can be a bit of a headache, but the right needle can make it a walk in the park.
Starting with a 90/14 needle size is a solid move, but you may need to level up to a 100 for those super dense materials. Your fabric’s thickness and the kind of backing on your Velcro should be your compass in this journey.
And don’t forget about thread strength! It’s like the secret weapon to winning the Velcro war. A robust thread could mean the difference between smooth sailing and a skipped-stitch disaster.
And one last tip, stay away from sticky-back Velcro, that stuff is infamous for messing up needles, and trust me, you don’t want to go there.
Best Practices for Sewing Velcro: Thread Choice and Velcro Types
Sewing Velcro isn’t just about getting the right needle size, there’s a whole lot more to it. Thread choice and the Velcro type you’re using are hugely important and can massively affect how smoothly your project runs.
So here’s the lowdown:
- What thread to use: Go for something tough, like nylon or polyester. These guys are the heavyweights of the thread world and can handle the roughness that comes with Velcro.
- Choosing your Velcro: Steer clear of the sticky-back stuff. It’s basically a needle’s worst nightmare and can really throw a spanner in your sewing works.
- The right needle size: Bigger is often better, especially when you’re working with thicker materials. A 90/14 or 100 needle should do the trick.
- Trial run: Don’t be that person who dives straight in without testing the water. Use a scrap of fabric to try things out before you tackle your final masterpiece.
Prep is key, guys. Get that right, and you’re halfway to a successful project.
Wrapping Up the Velcro Sewing Saga
So, you’ve got all the dope on sewing velcro with a sewing machine. Thought that was all? Not really fam! Now, let’s untangle some other intriguing aspects of sewing.
It’s a real head-scratcher wondering whether you can really use invisible thread in a sewing machine. Who would have guessed, right?. It’s a total game-changer and speaks volumes about how versatile sewing machines can be.
Furthermore, have you ever sat down and mulled over the differences between computerized and mechanical sewing machines? Let’s delve into it, shall we? We’re in an era where technology is taking over pretty much everything. Mechanical vs. computerized, it’s kind of like a reality check, which one should you have in your sewing arsenal? Food for thought, yeah?
Dwelling on some practical stuff, ever tried figuring out if any sewing machine can fit into a sewing table? It sounds pretty simple, but man, this is one of those things that could really make or break your sewing experience. A sewing table has to house the sewing machine just right, no compromises.
So, here’s the deal. Velcro sewing is just a fragment of what your sewing machine can do, so let’s keep exploring its potential. Sewing isn’t just a skill, it’s an art, a journey that keeps throwing up charming surprises. So keep tuning in, keep experimenting, and keep sewing!
I have been in the embroidery field for over 10 years. My career first started when I was an apprentice to a local seamstress where I started to learn the basics of garment construction and alterations. That’s where I started to love sewing and began to hone my skills even more.